
The Ultimate Guide To Building Server With Node Js
The Ultimate Guide to Building Servers with the Node.js HTTP Module
Learn everything you need to know about the Node.js HTTP module — from basics to advanced usage — with practical examples, tips, and best practices.
Table of Contents
- Introduction to the HTTP Module
- Why Use the Native HTTP Module?
- Setting Up Your Environment
- Creating a Basic HTTP Server
- Handling HTTP Requests and Responses
- HTTP Methods and Routing
- Serving HTML, JSON, and Static Files
- Handling POST Data
- Streaming Large Files with HTTP
- HTTP Headers and Status Codes
- Error Handling in HTTP Servers
- Working with HTTPS
- HTTP Client: Making Requests with
http.request() - Performance Tips and Best Practices
- Conclusion
1. Introduction to the HTTP Module
Node.js is a runtime environment that allows you to run JavaScript on the server side. At its heart, Node.js is built around asynchronous, event-driven architecture — and the HTTP module is one of its core building blocks.
The HTTP module in Node.js allows you to create servers and make HTTP requests. It’s part of the standard Node.js library, meaning you don’t have to install anything extra to start using it.
If you’re building web servers, APIs, or even microservices, knowing the HTTP module is essential.
2. Why Use the Native HTTP Module?
You might wonder:
“Why use the HTTP module when frameworks like Express.js exist?”
Here’s why learning the native HTTP module is important:
- Zero Dependencies: No external packages.
- Deep Understanding: You’ll understand how frameworks are built.
- Fine-Grained Control: Handle requests and responses exactly the way you want.
- Performance: It’s lean and fast with no additional overhead.
Think of the HTTP module as learning manual driving before using an automatic car — it gives you control.
3. Setting Up Your Environment
Before we begin, ensure you have:
- Node.js installed (preferably the latest LTS version).
- A code editor (like VSCode).
- A terminal or command prompt.
To check if Node.js is installed:
node -v
If not, download and install it from nodejs.org.
4. Creating a Basic HTTP Server
Let’s create our first server.
const http = require('http');

const server = http.createServer((req, res) => {
  res.end('Hello, World!');
});

server.listen(3000, () => {
  console.log('Server running at http://localhost:3000/');
});
Explanation:
http.createServer()creates a new server.- The callback
(req, res) => {}handles incoming requests. res.end()sends a response and closes the connection.server.listen()tells the server to listen on a port.
Visit http://localhost:3000 — you’ll see “Hello, World!”
5. Handling HTTP Requests and Responses
Each request object (req) contains data like:
req.method— the HTTP method (GET, POST, etc.).req.url— the URL requested.req.headers— HTTP headers.
Each response object (res) can:
- Set headers (
res.setHeader()). - Write chunks of data (
res.write()). - End the response (
res.end()).
Example:
const server = http.createServer((req, res) => {
  console.log(req.method, req.url);

  res.setHeader('Content-Type', 'text/plain');
  res.write('Request received\n');
  res.end('Goodbye!');
});
6. HTTP Methods and Routing
You can manually set up routing by checking req.method and req.url.
Example:
const server = http.createServer((req, res) => {
  if (req.method === 'GET' && req.url === '/') {
    res.end('Welcome to the homepage!');
  } else if (req.method === 'GET' && req.url === '/about') {
    res.end('About us');
  } else {
    res.statusCode = 404;
    res.end('Page not found');
  }
});
Notice how case handling and status codes are manually set.
7. Serving HTML, JSON, and Static Files
You can serve HTML:
res.setHeader('Content-Type', 'text/html');
res.end('<h1>Hello HTML</h1>');
You can serve JSON:
const data = { message: "Hello JSON" };
res.setHeader('Content-Type', 'application/json');
res.end(JSON.stringify(data));
Serving static files (like images, CSS) involves using Node’s fs module:
const fs = require('fs');
const path = require('path');

const server = http.createServer((req, res) => {
  const filePath = path.join(__dirname, 'public', req.url === '/' ? 'index.html' : req.url);

  fs.readFile(filePath, (err, content) => {
    if (err) {
      res.writeHead(404);
      res.end('Not Found');
    } else {
      res.writeHead(200);
      res.end(content);
    }
  });
});
8. Handling POST Data
To handle form submissions or JSON payloads:
let body = '';

req.on('data', chunk => {
  body += chunk.toString();
});

req.on('end', () => {
  console.log('Body:', body);
  res.end('Received POST data');
});
If it’s JSON, you can parse it:
const parsedData = JSON.parse(body);
Important: Always validate the incoming data to prevent server crashes.
9. Streaming Large Files with HTTP
Instead of reading the entire file into memory, stream it:
const readStream = fs.createReadStream('./largefile.txt');
readStream.pipe(res);
This is memory-efficient and ideal for large files.
10. HTTP Headers and Status Codes
Headers control metadata like content type, length, caching, etc.
Example of setting headers:
res.writeHead(200, {
  'Content-Type': 'text/html',
  'X-Powered-By': 'Node.js'
});
Common status codes:
- 200 — OK
- 404 — Not Found
- 500 — Server Error
- 301 — Redirect
Example redirect:
res.writeHead(301, { 'Location': '/newpage' });
res.end();
11. Error Handling in HTTP Servers
Robust servers gracefully handle errors:
server.on('error', (err) => {
  console.error('Server error:', err);
});
Within requests:
try {
  // risky operation
} catch (error) {
  res.statusCode = 500;
  res.end('Server error');
}
12. Working with HTTPS
To create a secure server, you’ll need certificates.
Example:
const https = require('https');
const fs = require('fs');

const options = {
  key: fs.readFileSync('key.pem'),
  cert: fs.readFileSync('cert.pem')
};

const server = https.createServer(options, (req, res) => {
  res.end('Secure server!');
});

server.listen(3443);
Use tools like OpenSSL to generate certificates for local development.
13. HTTP Client: Making Requests with http.request()
The HTTP module isn’t just for servers — it can send HTTP requests too.
Simple example:
const options = {
  hostname: 'jsonplaceholder.typicode.com',
  path: '/posts/1',
  method: 'GET'
};

const req = http.request(options, (res) => {
  let data = '';

  res.on('data', chunk => {
    data += chunk;
  });

  res.on('end', () => {
    console.log('Response:', data);
  });
});

req.on('error', (err) => {
  console.error('Error:', err);
});

req.end();
Or, for simple GET requests, you can use http.get():
http.get('http://jsonplaceholder.typicode.com/posts/1', (res) => {
  // Handle response
});
14. Performance Tips and Best Practices
- Use Streams for large data.
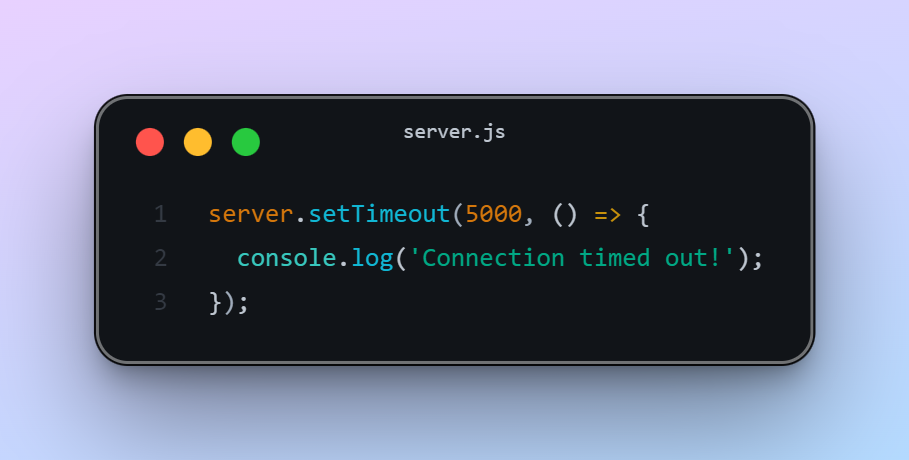
- Set timeouts for connections.
- Send correct headers (e.g.,
Content-Type,Content-Length). - Limit the body size to avoid DoS attacks.
- Use HTTPS for sensitive data.
- Handle errors everywhere.
- Implement logging for requests and errors.
Example timeout:
15. Conclusion
The Node.js HTTP module is a powerful, lightweight, and versatile tool.
While frameworks like Express simplify development, knowing how to build servers from scratch gives you:
- Better understanding.
- More control.
- Improved debugging skills.
Start small, experiment, and soon you’ll master HTTP servers with ease.
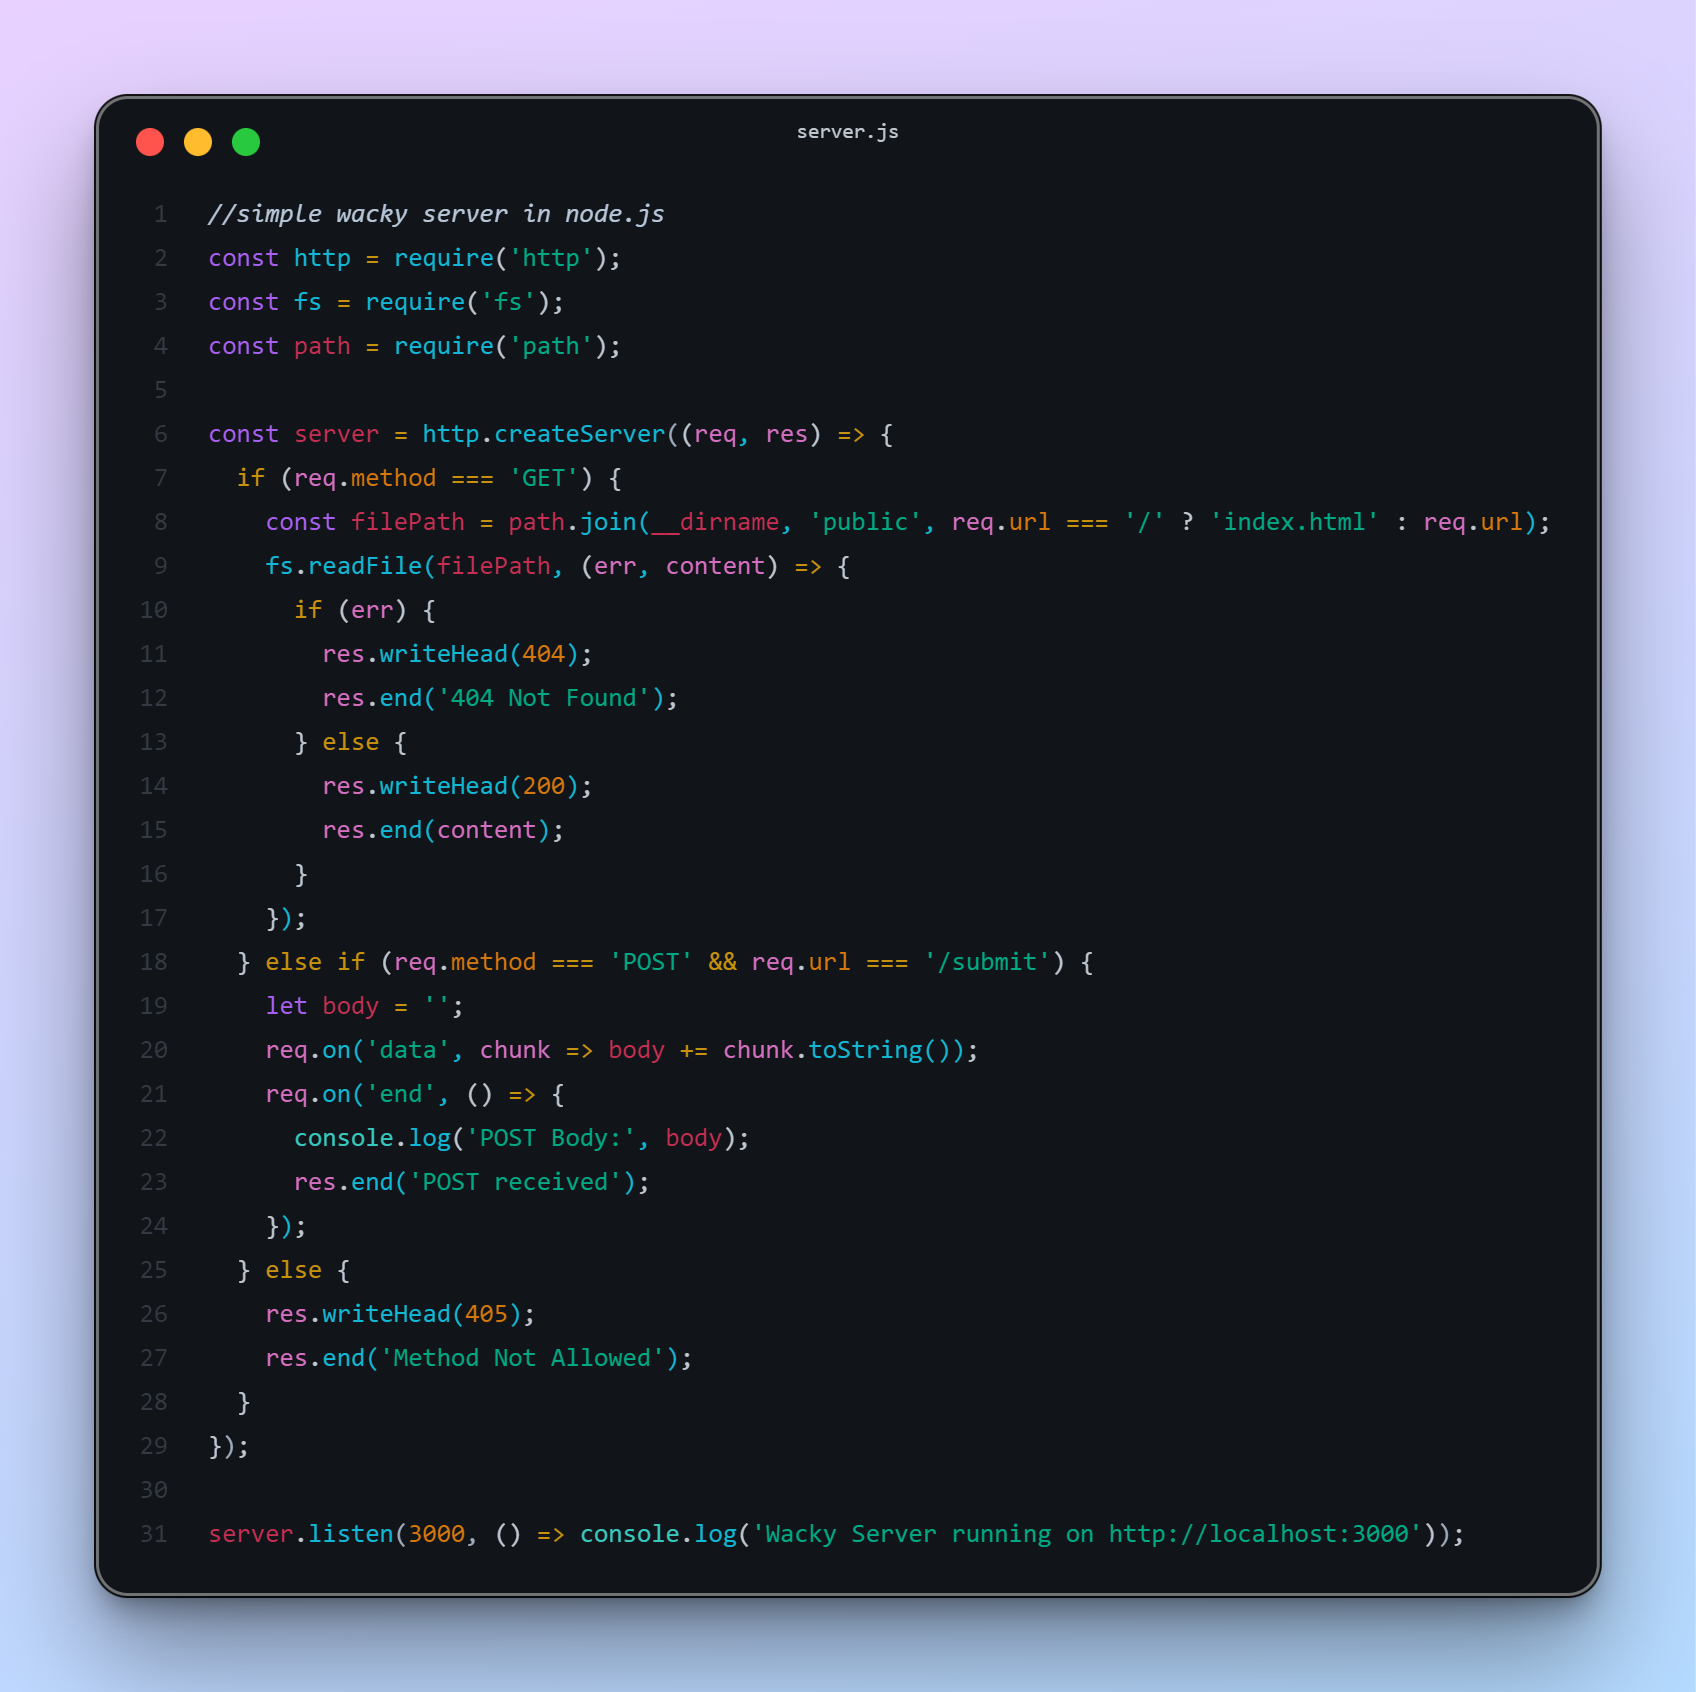
Bonus: Full Example Server
Here’s a quick all-in-one server that:
- Serves static files
- Handles routing
- Accepts POST data
Final Words
Mastering the Node.js HTTP module equips you with foundational server-side skills that are essential for backend development.
Happy coding! 🚀
Leave a comment